
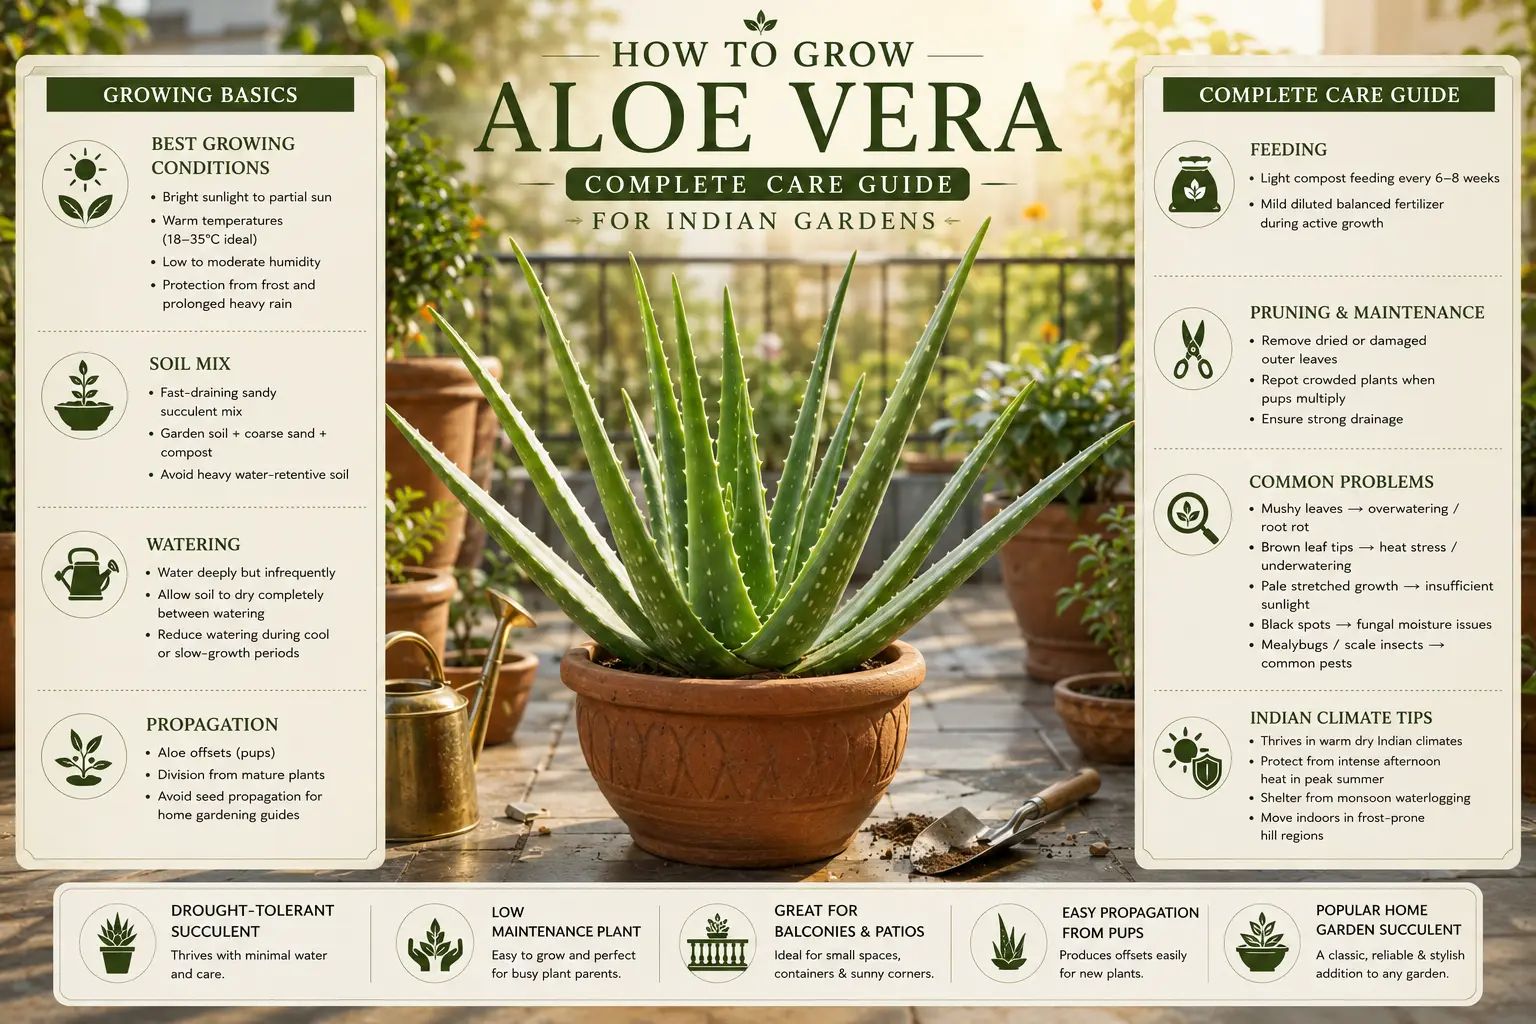
How to Grow Aloe Vera: Complete Care Guide for Indian Gardens
Quick Answer: Aloe vera is one of the easiest plants to grow in India — it thrives in pots, needs very little water, and does well in both humid coastal and dry inland climates. The biggest mistake beginners make is overwatering it, which kills the plant faster than any pest or disease.
See also: Aloe Vera (Ghritkumari) Plant plant profile, common problems, its flowering season, its benefits, and its varieties.
Snap a leaf of aloe vera, and a clear, slightly sticky gel oozes out — cool to the touch, faintly grassy in smell. That gel is why millions of Indian households keep this plant on a windowsill, a balcony, or just outside the kitchen door. Growing aloe vera is genuinely easy, rated Easy for beginners, but one habit — watering too often — undoes most first-time growers. See all its uses and benefits →
Recommended Products
Disclosure: As an Amazon Associate, PlantsInfo may earn from qualifying purchases.
🌱 Growing Essentials
The following products can help with container gardening, potting, root development, soil management, and healthy plant growth.
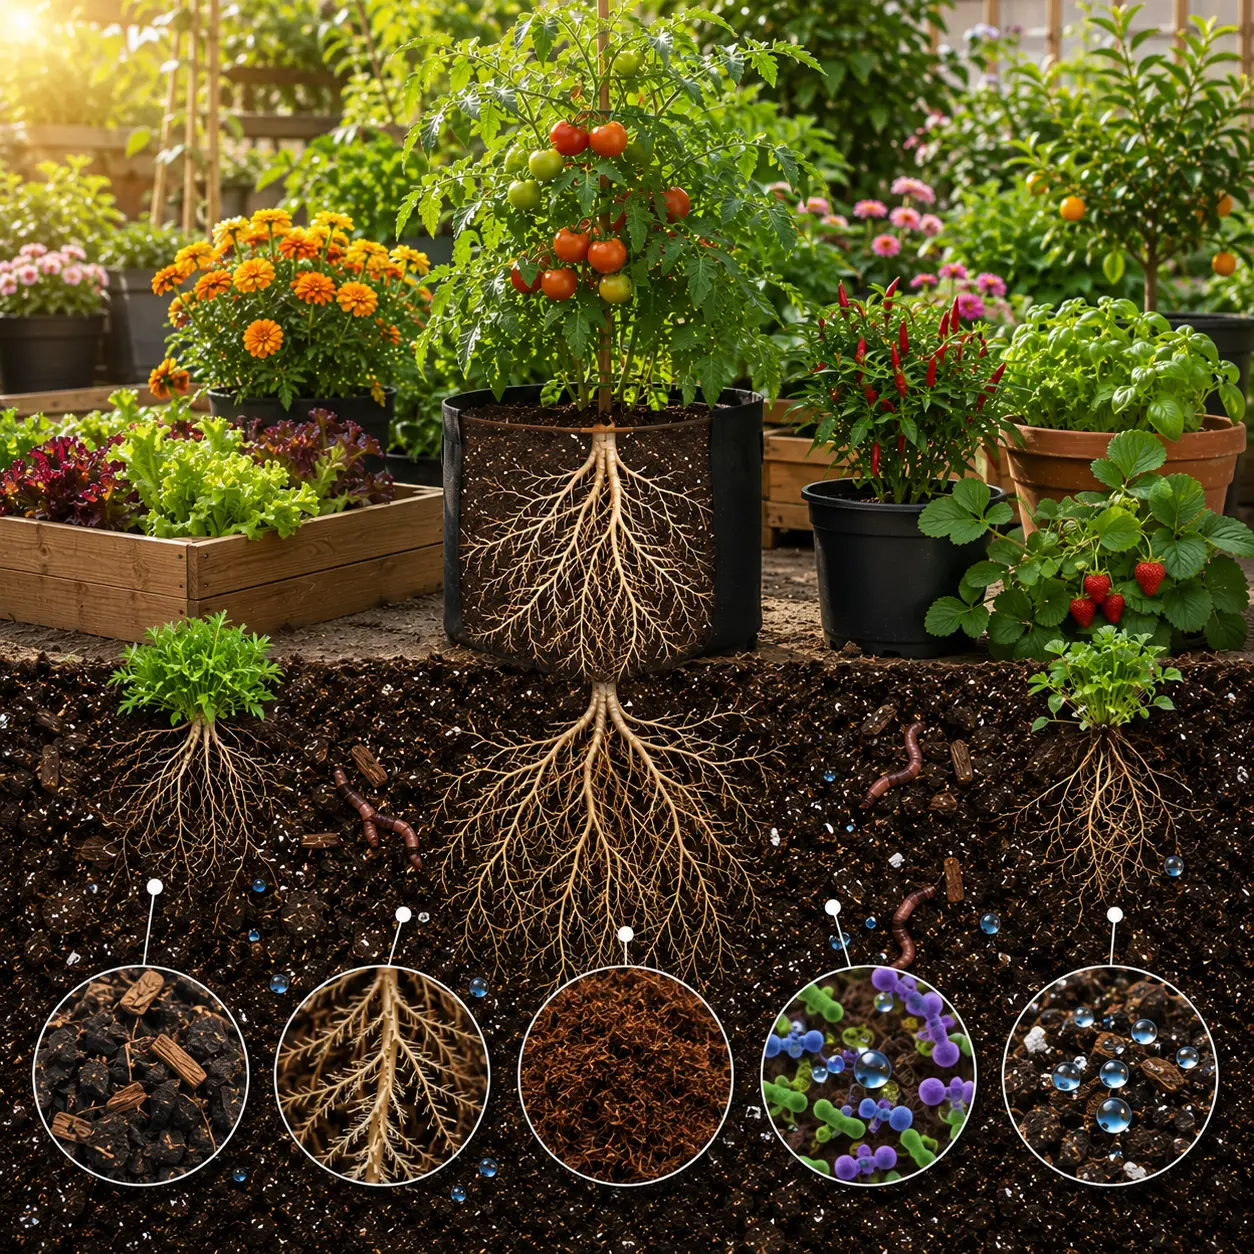
Organic Potting Soil Mix
Provides nutrients, structure, and healthy growing conditions for container plants.
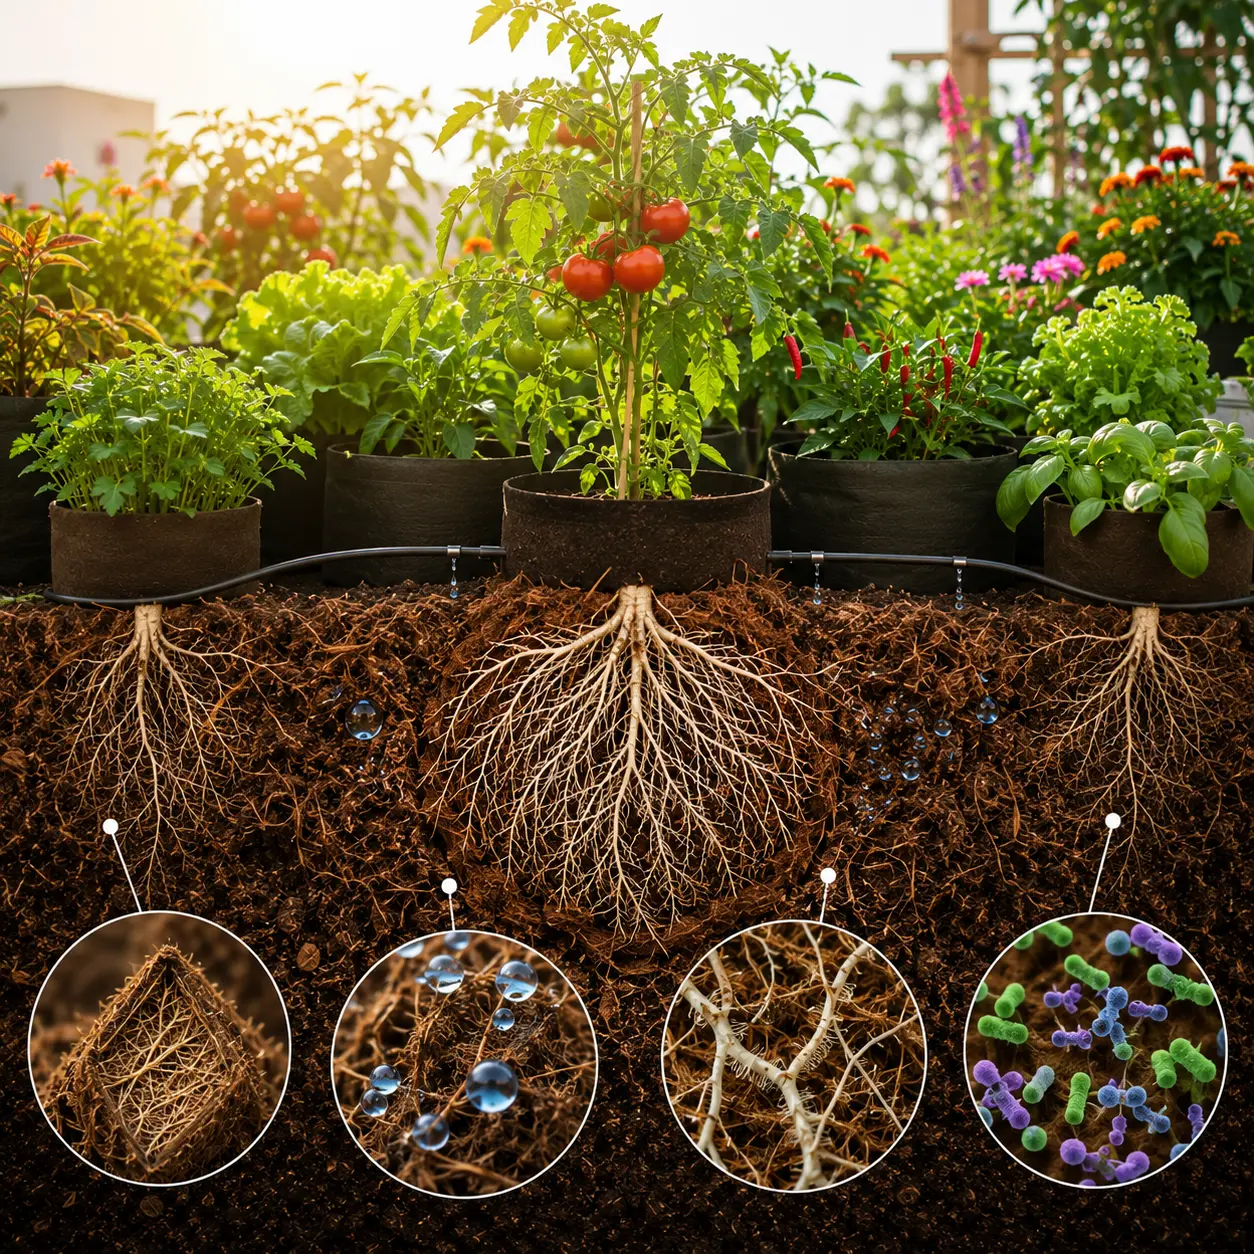
Coco Peat Growing Medium
Enhances moisture retention while maintaining excellent root-zone aeration.

Grow Bags for Plants
Improve drainage, root aeration, and vegetable production in limited spaces.

Plastic Pots for Plants
Ideal containers for seedlings, ornamentals, herbs, and balcony gardens.
Quick Facts
| Attribute | Detail |
|---|---|
| Common names | Aloe vera, Gwarpatha, Ghritkumari, Korphad, Kathalai |
| Scientific name | Aloe vera (syn. Aloe barbadensis Mill.) |
| Plant type | Succulent perennial |
| Mature size | 60–90 cm tall, 60–90 cm wide |
| Sunlight | Full sun to partial shade |
| Water needs | Low — drought tolerant |
| Best season to plant | Post-monsoon (October–November) or early winter |
| Suitable states | All Indian states; especially suited to Rajasthan, Gujarat, Andhra Pradesh, Tamil Nadu |
Choosing the Right Spot
Aloe vera wants bright light — at least 4–6 hours of direct sun per day. A south- or west-facing balcony or windowsill works well across most of India.
In very hot inland regions like Rajasthan and Vidarbha, afternoon shade during peak summer (April–June) prevents leaf scorch. On the coast — Kerala, Goa, coastal Odisha — the plant handles humidity fine as long as the soil drains quickly.
Containers work slightly better than garden beds for most urban gardeners because you can move them during the harshest weather. In the ground, space aloe at least 45–60 cm from other plants to allow the offset pups room to grow.
Soil and Potting Mix
Aloe vera demands well-draining soil above all else. A standard garden soil holds too much moisture and will rot the roots within weeks.
Mix two parts regular garden soil, one part coarse river sand, and one part perlite or small gravel. This keeps the roots aerated and mimics the rocky, semi-arid soil aloe prefers. pH range of 6.0–7.5 suits it well.
The common mistake: using red clay soil straight from the garden without amendment. It compacts when wet, suffocates roots, and gives the plant no way to dry out between waterings.
Planting — Season and Method
The best time to plant aloe vera in India is post-monsoon — October through November — when temperatures drop, and the soil is no longer waterlogged. Winter (December–January) is a fine second window. Avoid planting in the height of summer or during the monsoon, when root rot risk is highest.
Saplings (pups) are far more practical than seeds. Seeds germinate slowly, are difficult to source reliably, and take much longer to establish. A healthy pup from a mature plant will settle in within 2–3 weeks.
Plant pups at the same depth they were growing — don’t bury the base of the leaves. Water once after planting, then leave it alone for 7–10 days to let the roots adjust.
Watering
For the first 4–6 weeks, water lightly every 10–12 days. The goal is to encourage the roots to reach downward, not to keep the soil moist.
A mature aloe vera in a pot needs watering only when the top 2–3 cm of soil is completely dry — roughly every 2–3 weeks in winter and every 10–14 days in summer. In-ground, established plants often survive on rainfall alone except in very dry months.
The specific overwatering sign to watch for: the leaves turn soft and slightly translucent near the base, then the whole rosette leans outward. Yellow leaves alone can mean many things — this mushy softness at the stem base means root rot has already begun.
During the monsoon, if your plant is in a pot, move it to a sheltered spot or reduce watering to near zero. If it is in the ground, ensure the bed drains completely within 30 minutes of rain.
Fertiliser
Aloe vera is a light feeder. Overfeeding produces lush, water-heavy leaves that are less potent and more prone to pest damage.
Apply vermicompost — one small handful per pot — at the start of winter (November) and again at the end of winter (February). This is sufficient for most home-grown plants.
For those who want faster growth, diluted liquid seaweed fertiliser once a month during the growing season (February–May) works gently without pushing excessive soft growth. Avoid high-nitrogen fertilisers like DAP — they produce lush leaves but weaken the plant’s drought resistance and gel quality.
Common Problems and Fixes
Soft, brown, mushy base: Root rot from overwatering. Remove the plant from the pot, cut away all dark and mushy roots with a clean blade, let the plant dry in open air for 24 hours, then repot in fresh dry mix. Do not water for 10 days.
White cottony patches on leaves: Mealybugs. Dab each cluster with a cotton swab dipped in diluted neem oil or 70% isopropyl alcohol. Repeat every 5 days for three cycles. This is the most commonly misdiagnosed problem — beginners often mistake the white wax for fungus and spray a fungicide, which does nothing.
Leaves turning pale yellow-green and stretching upward: Not a disease — this is etiolation, caused by insufficient light. Move the plant to a brighter spot. It will not reverse existing stretched growth, but new leaves will emerge compact and upright.
When Will You See Results?
In the first year, aloe vera will settle, produce 2–4 new leaves, and likely throw one or two small pups at the base. It will not look dramatic — this is normal.
Most plants produce their first proper, gel-rich harvestable leaves by the end of year two, typically just before the Indian summer (March–April) when the leaves are at their plumpest after the cooler months.
The patience note: resist harvesting leaves in the first year. Every leaf removed slows establishment. Let the plant build its root system first.
Propagation
Aloe vera propagates almost exclusively through offsets — the small pups that appear around the base of a mature plant. Seeds exist but are rarely practical for home gardeners.
Wait until a pup is at least 10 cm tall and has begun to develop its own root system. Gently pull or cut it away from the mother plant, allow the cut end to dry and callous for 24 hours, then plant it in a fresh dry mix. Success rate is very high — close to 90% when the pup is the right size.
Best time to separate pups: October–November, so the new plant establishes during the cooler, slower months rather than during summer stress.
Container Growing
A terracotta or clay pot is strongly preferred over plastic — it allows the soil to breathe and dry out faster, which is exactly what aloe vera needs. Minimum pot size: 20 cm diameter for a single plant.
Use the same gritty mix described in the Soil section. Ensure the pot has at least one drainage hole — ideally two. Never use a saucer under the pot, or empty it within 30 minutes of watering.
Repot every 2–3 years or when you see roots pushing out of the drainage holes, the plant tipping over, or a dense cluster of pups crowding the pot.
Harvesting
Harvest outer leaves first — they are the oldest and most gel-rich. A leaf is ready when it is thick, firm, and at least 20 cm long.
Cut the leaf as close to the base as possible using a clean, sharp knife. Let the yellow sap (aloin) drain out by standing the cut end down for a few minutes before using the gel — the aloin can cause skin irritation in sensitive individuals.
Store cut leaves in the refrigerator, wrapped in plastic, for up to 10 days. Extracted gel keeps refrigerated for 5–7 days.


